Home automation and the RGIE: documenting the bus and the actuators
Extra-low voltage bus, actuators, module referencing: how to present home automation in the electrical file.
Centralised shutters, controlled lighting, regulated heating: in a bus installation, the push button no longer switches the load, an actuator in the board does. The electrical file must still describe the installation as it is wired. Here is how to document an automated installation properly, with what Book 1 says about the diagram, the referencing and safety extra-low voltage.
Why home automation complicates the file
In a conventional installation, the link between the control and the load is a direct electrical link: the switch cuts the lamp’s phase, and the single-line diagram shows it as such. With a home automation bus, that link disappears. The push button no longer acts on the lighting circuit: it sends a message onto the bus, and it is an actuator mounted in the board that actually switches the load.
In other words, the functional link (this button controls this lamp) and the electrical link (this circuit feeds this lamp) no longer coincide. A diagram that draws a conventional switch on the lighting circuit describes an installation that does not exist. Book 1 requires diagrams and plans to be kept up to date (point d. of subsection 3.1.2.1), and the inspection report certifies that the installation has been carried out in accordance with the single-line diagrams and position plans (subsection 6.4.6.4). The principles recalled in our article on the requirements for the single-line diagram apply just as much.
The elements to show
For a domestic installation, the single-line diagram shows at least the wiring (type, cross-section, number of conductors), its installation method, the RCDs, the overcurrent protective devices, the switches, the boxes, the socket-outlets, the lighting points and the fixed machines and appliances (subsection 3.1.2.2). For a bus installation, it is useful to also show:
- The bus power supply: the supply providing the extra-low voltage, with the circuit that feeds it and its protection in the board.
- The bus participants: push buttons, sensors, probes, control panels. Table 2.23 of Book 1 has a home automation heading: the control unit is shown as a rectangle in two parts, the basic symbol at the bottom and the type of control at the top. On the position plan, each control unit is identified by the letter of the circuit it is in and the sequence number of the lighting point or appliance it controls (subsection 3.1.2.1).
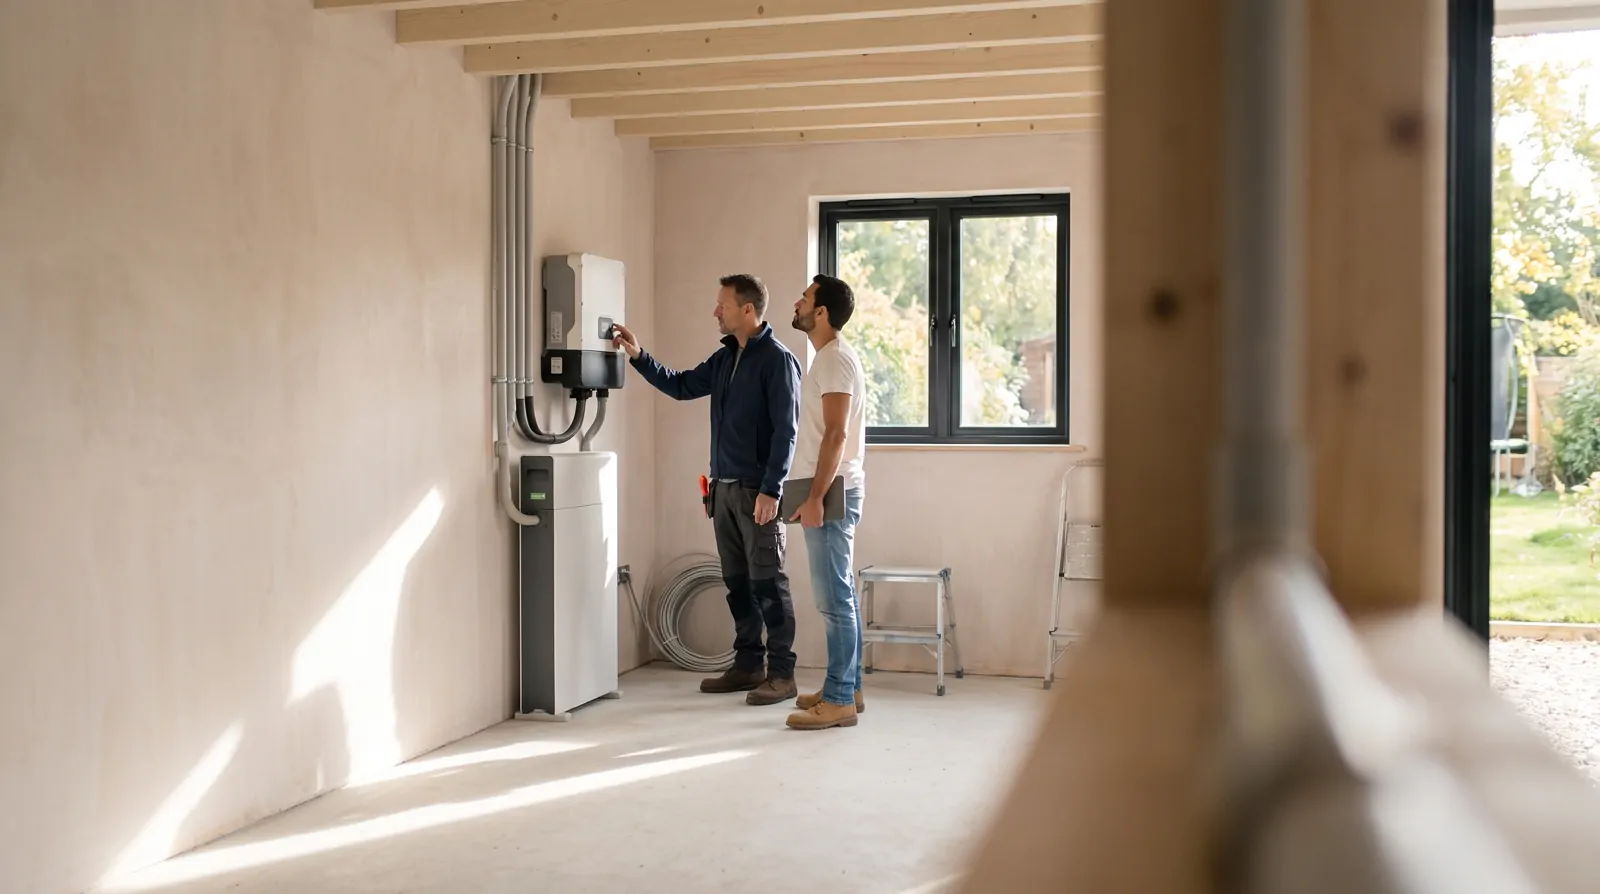
- The actuators in the board: switching modules, dimmers, shutter actuators, with each output connected to its circuit. Each circuit is identified by a capital letter, and its points are numbered in order from the upstream protective device (subsection 3.1.2.1). Where table 2.23 has no symbol, any clearly identifiable symbol defined in the legend may be used.
- The boundary between bus and power: the reader of the diagram benefits from seeing at a glance what belongs to the extra-low voltage and what belongs to the 230 V.
Safety extra-low voltage, and its separation from the 230 V
Where the bus is supplied at safety extra-low voltage (SELV, TBTS in the RGIE), that status rests on several conditions. Under point a. of subsection 4.2.3.3, the voltage never exceeds the absolute conventional limit voltages, it is supplied by one of the sources allowed in point a. of subsection 4.2.5.3, and the equipment and installation comply with subsections 4.2.5.3 and 4.2.5.5. The live parts of SELV circuits are physically separated from other circuits, and they may not be galvanically connected to the earth electrode.
For the wiring, point c. of subsection 4.2.5.3 requires one of the following arrangements:
- a physical separation of at least 10 mm between SELV conductors and those of other circuits;
- supplementary insulation of the SELV conductors, on top of their basic insulation (sheath, conduit…);
- in a multicore cable or a group of conductors containing circuits at different voltages, SELV conductors insulated, individually or collectively, for the highest voltage present.
In a trunking or gutter carrying circuits at different voltages, the connections are made in separate compartments (subsection 5.2.9.6). Section 3.3.3 also requires control and signalling installations to have the devices needed to prevent mutual influences with the other installations. The course of the visit is covered in our inspection checklist.
Module referencing
Book 1 requires the control, protective and isolating devices of the circuits to be marked clearly, visibly and indelibly with individual markings, unless any possibility of confusion is ruled out (subsection 3.1.3.1). Low-voltage switchgear assemblies are marked in the same way (subsection 3.1.3.2). On a board lined with identical actuators, confusion is quickly possible.
A simple method: each module carries a reference (M1, M2, or the manufacturer’s reference completed with a number), and that reference appears on the single-line diagram, on the label in the board and in the programming documentation if there is one. An output of module M3 that feeds circuit D on the diagram corresponds to the module labelled M3 in the board, terminal by terminal.
The troubleshooting test: imagine a shutter stops responding in a few years. With your file in hand, a colleague who does not know the job site must be able to identify the actuator concerned, its position in the board and the circuit it feeds, without opening the programming software.
Errors to avoid
On an automated installation, these are the discrepancies to track down before the visit:
- The bus is not documented at all. The diagram shows lighting circuits with conventional switches, when everything runs through actuators. The document does not match the installation.
- Orphan actuator outputs. A module does switch a circuit in the board, but that circuit appears nowhere on the diagram: no cable size, no points, no letter.
- SELV bus and 230 V in the same conduits without any of the arrangements in point c. of subsection 4.2.5.3. Then it is the installation itself that is at issue, not just the paperwork.
- No module referencing at all. Ten identical actuators lined up in the board, not a single label, and a diagram silent on who does what.
- The manufacturer’s documentation attached as a diagram. Book 1 allows diagrams to be supplemented with documents detailing the equipment (point c. of subsection 3.1.2.1), but the single-line diagrams and position plans still have to be drawn up (point a.).
Nothing insurmountable: it is mostly a matter of drawing what is actually wired, with the same care in referencing as for the rest of the installation. In Amperio, home automation has its place in the single-line diagram exported as a PDF, as in the sample file offered on the site.
Sources
- RGIE, Book 1, table 2.23 (FPS Economy, version of 29.10.2025)
- RGIE, Book 1, sections 3.1.2.1 and 3.1.2.2 (FPS Economy, version of 29.10.2025)
- RGIE, Book 1, sections 3.1.3.1 and 3.1.3.2 (FPS Economy, version of 29.10.2025)
- RGIE, Book 1, section 3.3.3 (FPS Economy, version of 29.10.2025)
- RGIE, Book 1, section 4.2.3.3 (FPS Economy, version of 29.10.2025)
- RGIE, Book 1, sections 4.2.5.3 and 4.2.5.5 (FPS Economy, version of 29.10.2025)
- RGIE, Book 1, section 5.2.9.6 (FPS Economy, version of 29.10.2025)
- RGIE, Book 1, section 6.4.6.4 (FPS Economy, version of 29.10.2025)
This article is informative. It replaces neither the RGIE (Book 1) nor the advice of your inspection body.
A free job site for 7 days, no credit card.